
Restyling Thrifted Drawstring Linen Pants with Elastic
/
I don’t like drawstring pants or sweatpants. I just don’t. I don’t like the bulk of the knot under my t-shirt or having to untie and tie for bathroom breaks.
After a year of buying very few clothes, my favorite garden pants are reaching the stage where even mending is not going to be worth my time. I made a trip to the thrift store, and found these 100% linen drawstring pants. I wore them once, but knew if I didn’t change out the drawstring, I probably wouldn’t reach for them often. And, over the last year, well, actually it’s been more like a year and a half, I’ve become more conscious about not shopping just to shop and not filling up my closet with clothes that I won’t wear often.
I’ve been sewing for well over 50 years, so changing out the drawstring with elastic is an easy task for me. But, I’m writing about it, because if you haven’t sewn a lot, you might have questions. It’s pretty straightforward, but I’ll share a couple of tips.

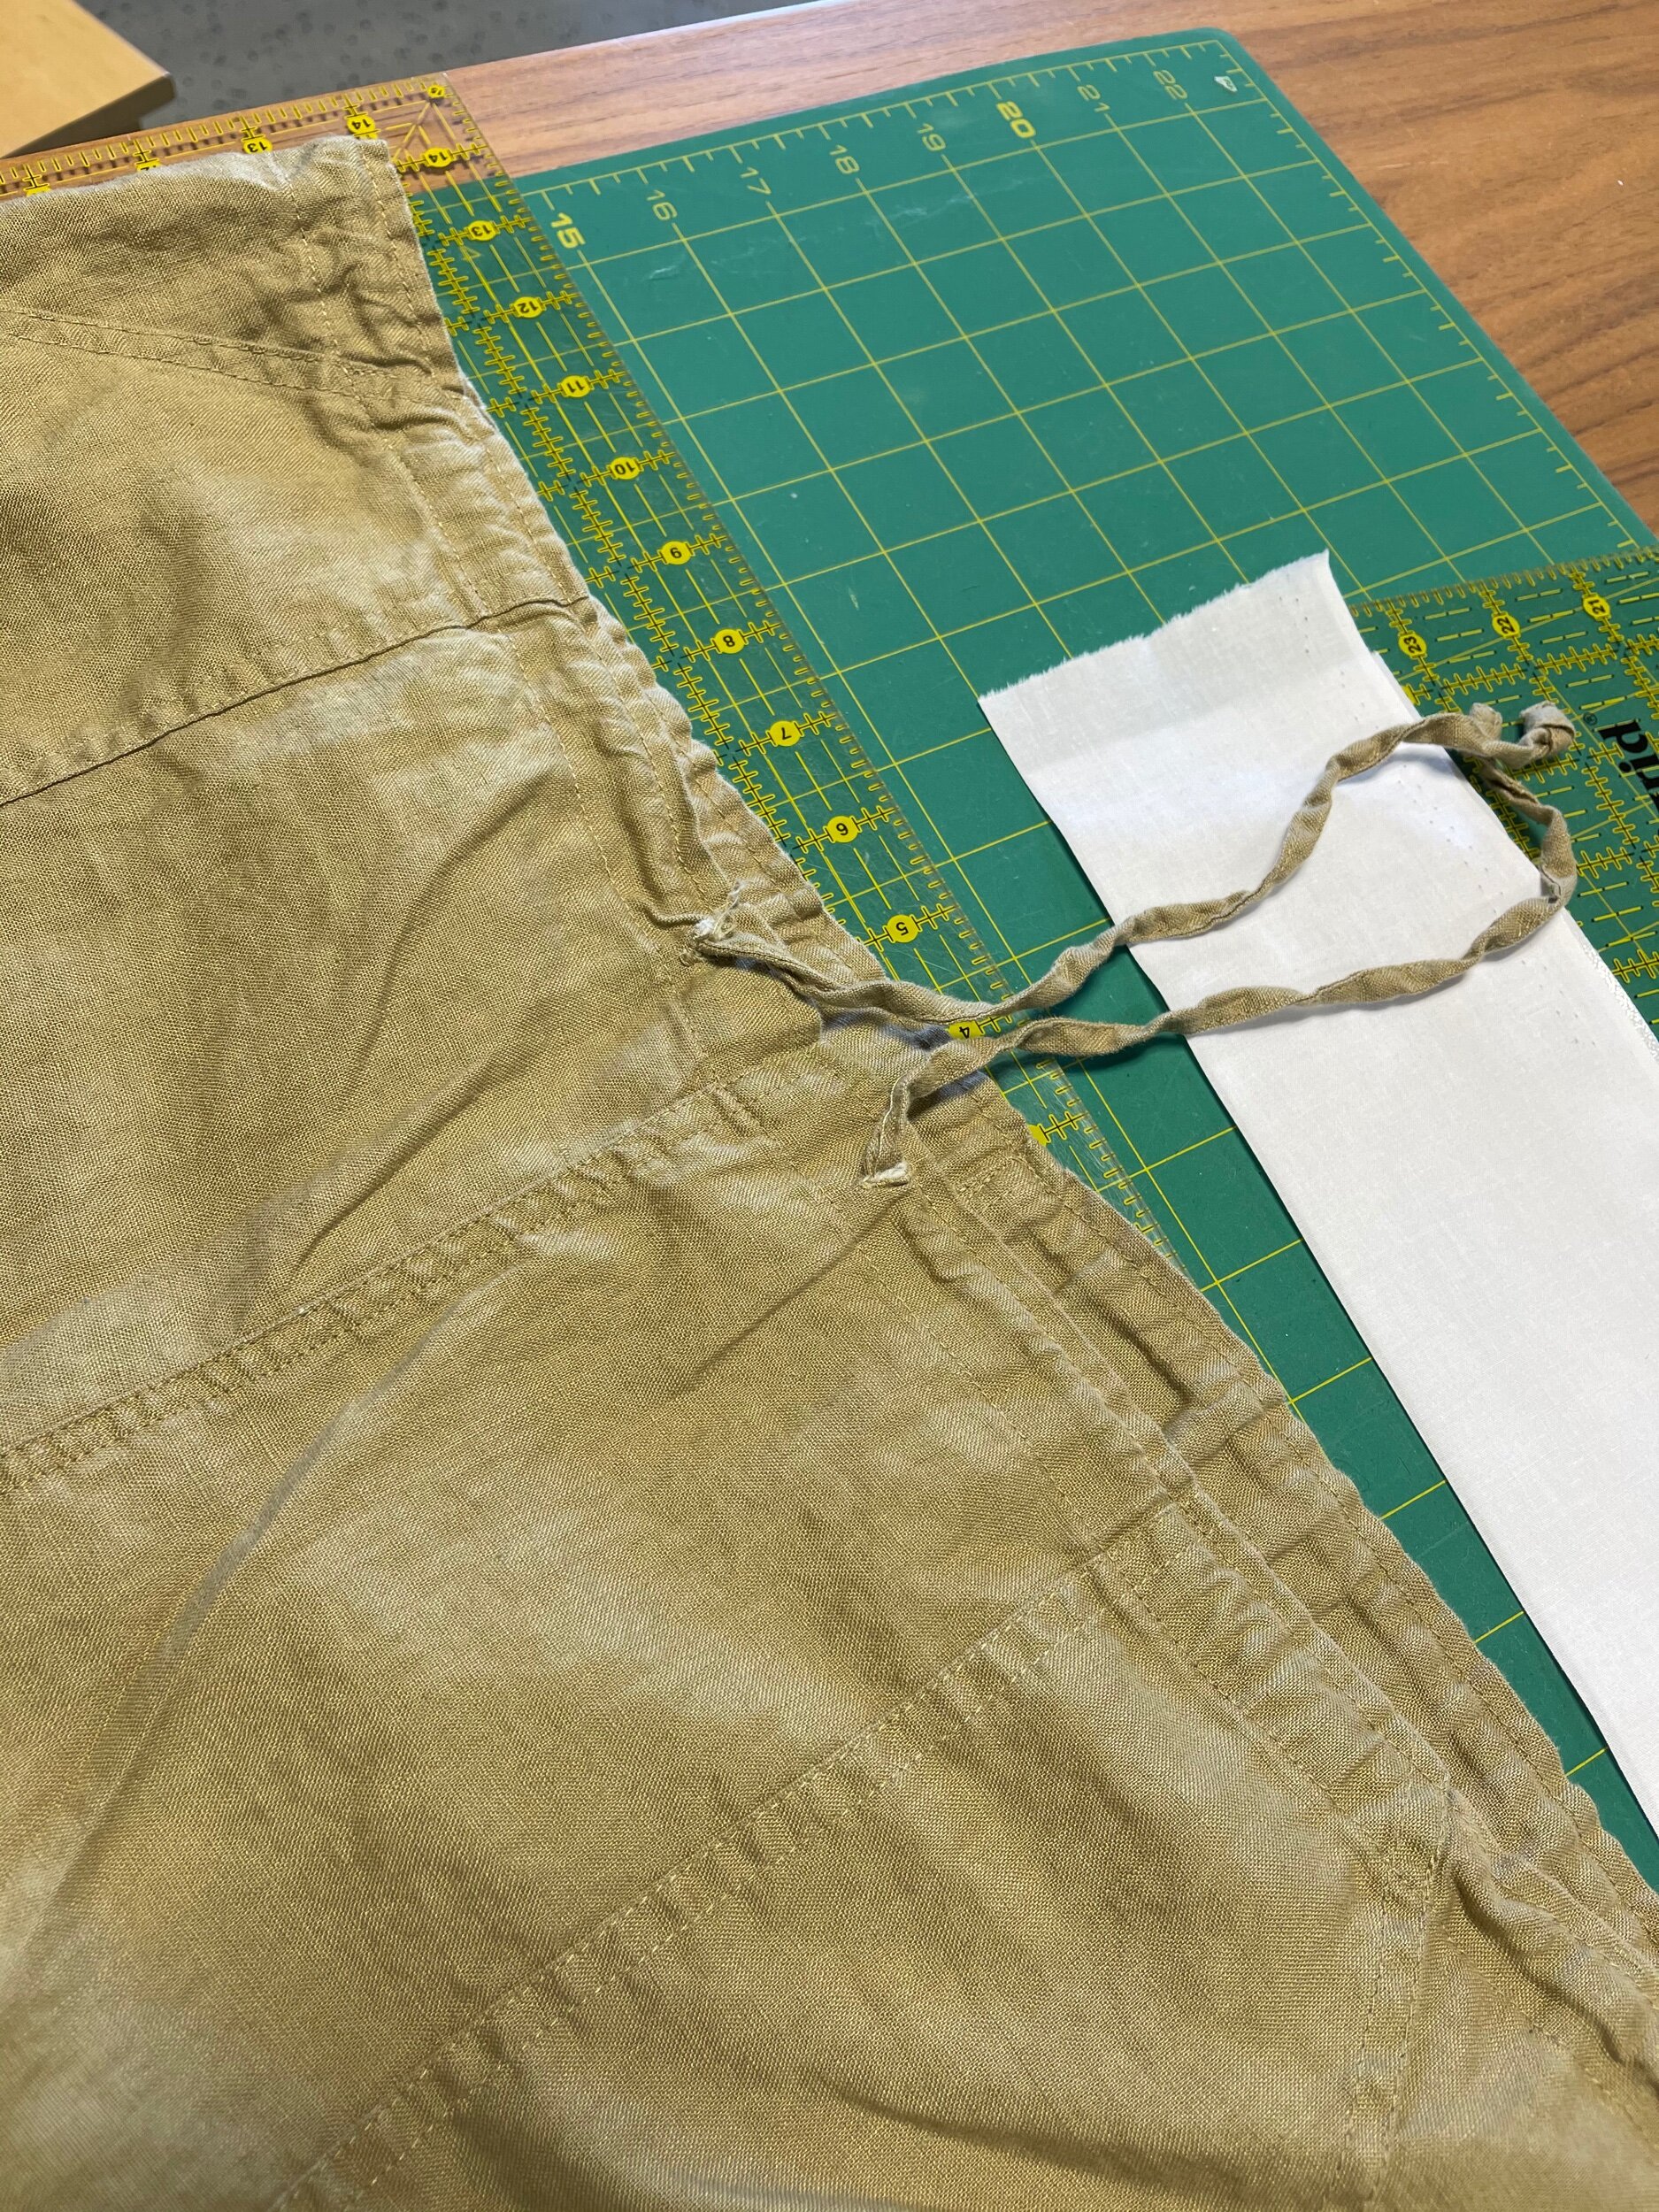
After making sure the pants fit, the first step is to take out the drawstring.
Step 1: Take out the drawstring. In this pair of Mosimo linen pants, there were 6 stitches at the center back seam to keep someone from accidentally pulling the drawstring out. Those were easily picked out and I pulled the drawstring out.

Next: Elastic. The elastic should fill the casing with just a little extra wiggle room. This casing was shy of 3/4”, so my 1/2” plush lingerie elastic fit just right. If I had had some, a braided elastic would have been my first choice, but, I have a whole spool of this elastic that I bought for a song last year when I was making underwear. So, that’s what I used.
For a few minutes, I thought about adding a wide linen casing and elastic, because it’s generally more comfortable, but decided this elastic would be fine. I can always redo later if I decide to.

Next: Pull the elastic through the casing. I have a couple different tools for putting in elastic, but the humble safety pin is my favorite for a waistband. I usually have a few in a bowl in my sewing room. I pulled the elastic through, making sure the other end didn’t escape into the casing. I stitched across the casing to secure and trimmed the elastic edge.
I then worked the elastic to even out the gathers, and stitched the other edge the same way. Since this waistband had buttonhole openings in the front for the drawstring, I didn’t bring the elastic full circle.

The safety pin, invented by Walter Hunt
Here’s a little tip! If you use a safety pin often to pull elastic through a casing, leave a piece on the safety pin, to make it easier to find amongst your pins.


