
Soft sculpture pumpkin lid for costume or halloween cat bed.
/As a treat for the hubs and me, I subscribed to Home Chef meal kits last month and it’s been such a blessing to us, I plan to continue. The insulating material that comes in the box each week is a recycled pop bottle material, so it’s a little rough to use for a quilted project, but the stiffness and body of the material seemed like it would be great for a cat toy or bed and leaving the plastic on, gives it that crinkly fun sound that you find in a lot of pet toys. I was just going to peel the plastic off and use the batting in another floor pouffe, but this idea came to me on the heels of adopting 2 kittens.
I woke up the other morning thinking about a soft sculpture pumpkin bed for our new kittens. I haven’t published the entire project yet, because I’ve been making it up as I go and never intend to be a pattern writer, but I thought this might be helpful to anyone making halloween costumes right now.

This is my soft sculpture pumpkin top for the cat bed. It could be made into a hat for halloween by adding a hair band or sewing it to a hat you already own.

I have this really great insulating material that comes in my Home Chef meal kits. It’s like a super puffy quilt batting, but much coarser, and has a plastic film on each side. I drew an idea of a pumpkin top so you could see it better on the batting.
My pumpkin cat bed needed a lid about 9” across. I drew right on the plastic that covers this batting material, but that was more for a visual before sewing on the fabric. I used 2 pieces of fabric and 1 piece of batting, all cut 10-11” square.
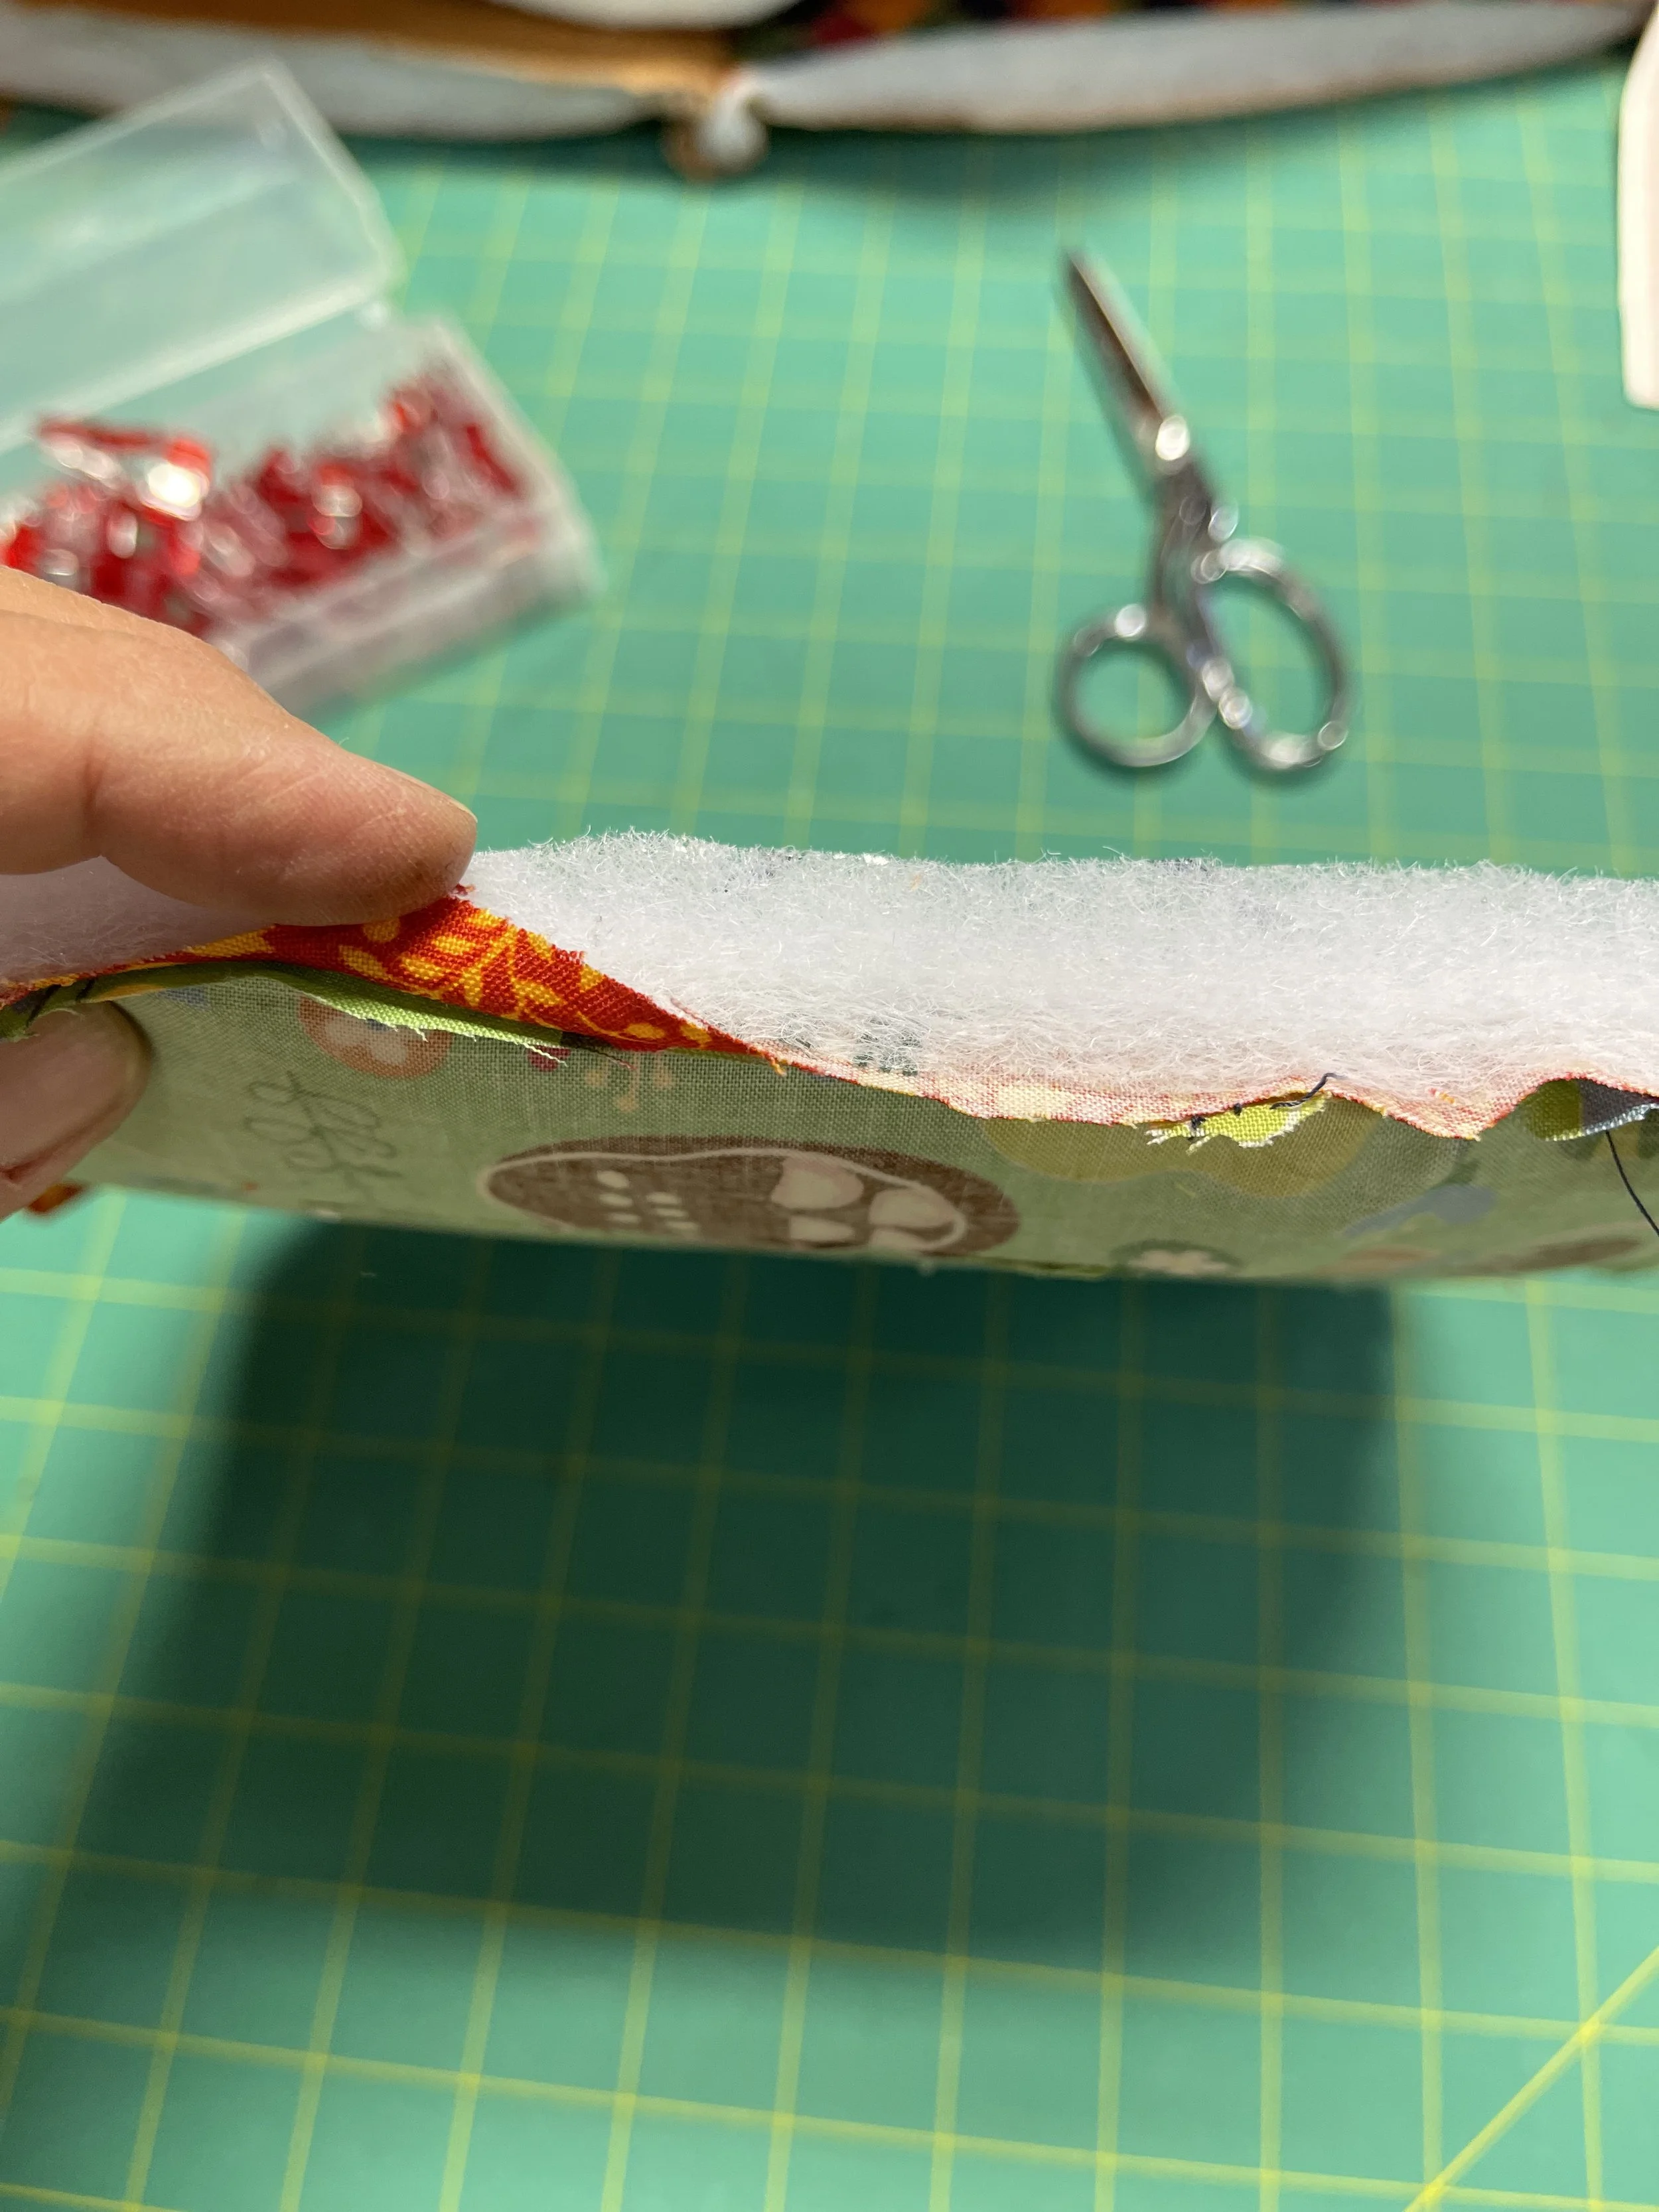
stack in this order: fabric 1 and fabric 2, right sides together, then batting.
Make sure you have the layers arranged correctly. I often mess this up and have to start over. That’s how we learn, right? Use clips or pins (clips work great for thick layers) to keep your materials from shifting and sew on the line that you drew on the lining piece or do like I did and just sew a wavy line within the square.

Cut a slit and turn.
Since my project is for our cats and the underside of the pumpkin lid is not going to be seen, I sewed all the way around, and cut a slit between the center and edge. If you are going to see both sides, you should leave a 4” opening instead of sewing a complete circle, and then stitch the edge shut after turning it, or glue it.

Using my straight stitch set at 3.0, I sewed some random lines to suggest a pumpkin.
I’m not going for realism here. I just want to suggest a pumpkin top. I set my machine to straight stitch, and starting in the center, sewed random lines and then sewed a wavy, organic line about 1/2” from the edge all the way around to make it a little stiffer.

Leaf shapes cut from a felted, thrifted wool sweater.
I cut a couple of wiggly leaf shapes from a thrifted wool sweater. I love making and using felted wool. Don’t overthink this. Pumpkin and squash leaves come in all kinds of shapes and sizes, so have fun with it.

Felted wool leaves attached to pumpkin lid.
To attach the felted wool leaves to my soft sculpture pumpkin lid, I overlapped the edges a bit, and still using my straight stitch, sewed some random lines to suggest a leaf. Honestly, the cats aren’t going to care, but if you are using this as a costume, it’s a nice touch, and it keeps the leaves from flopping around too much.
Note the center of the pumpkin lid — To prepare for a place to put a stem, I created a faux buttonhole with a straight stitch that I backstitched over, then cut in the center like you would a buttonhole.

Pumpkin lid stem is a piece of rolled up felted wool.
To make the pumpkin lid stem, I used the same felted wool sweater, rolled up what I thought was a good looking stem, cut it with my scissors and pulled it through the faux buttonhole that I made in the center of the lid. The wool stem is pretty snug in my faux buttonhole, but not firm enough to be pulled out by kittens, so I tacked the edges inside the lid.

And, that’s it! One pumpkin lid ready to top my cat soften sculpture pumpkin bed. I’m hoping to finish the cat bed today, so I can upload pictures and, more importantly, put it to use!
Enjoy! If you have questions or make something from this rough tutorial, please let me know!
Anne
